
................................................................................................
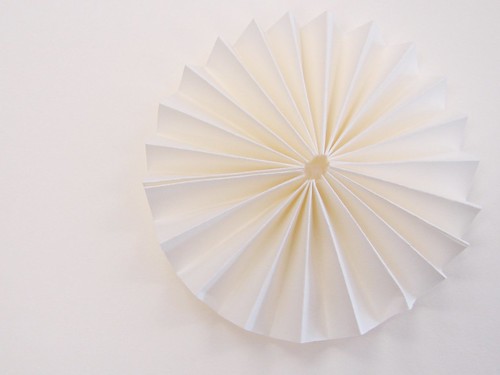
I don't know if you've been seeing them everywhere or not but I sure have! I've seen small paper rosette's adorning scrapbook pages, decorative banners, cards and even used as party and home decor! And, I LOVE them and had to investigate on how to make them. Last summer I made some large ones from tissue paper for my daughter's birthday party and found them to be pretty simple but I wasn't sure how scaling them down to create a scrapbook embellishment would work out. I'm happy to report that it's a piece of cake! And today I'm going to share how to create both the large version as well as the small...

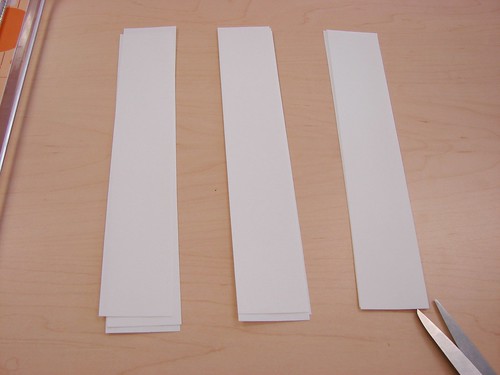
For the smaller rosette I started out by cutting three strips of text weight paper measuring 8 1/2 x 11 inches. You will need three strips to create one rosette, below I have pictured three stacks of three (to make three rosettes).
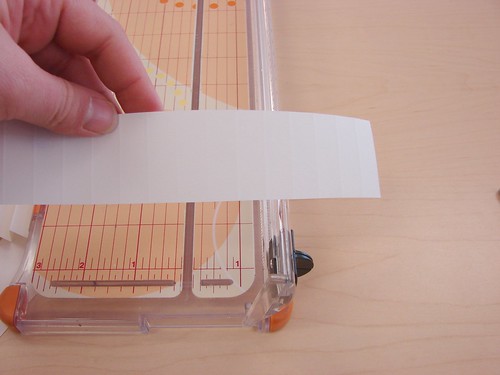
Next you will want to score your strips of paper at 1/2 inch intervals until your entire strip is scored. There will be a bit at one end that is shorter than one inch, trim that off with your scissors.
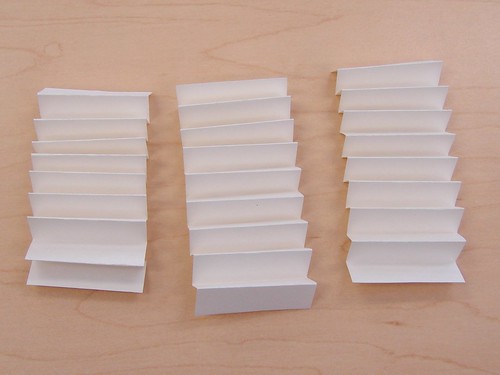
Once your strips of paper are scored, fold along your scored lines by zig-zag (or accordian) folding.
Now attach all three of your strips together by using double-sided adhesive or Super Tape.

Bring your rosette together by adding a large Zot (glue dot) in the center of your rosette. You may need to add a couple depending on how well you are able to place the glue dot.
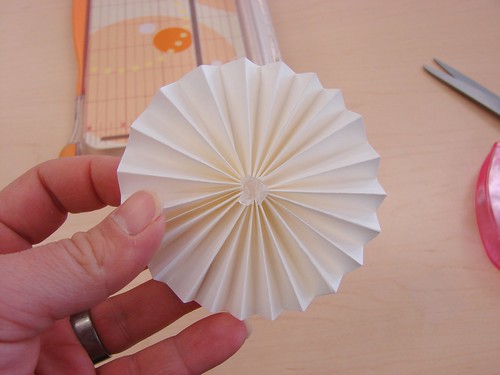
You can cover your glue dot with a button or other embellishment for the center of your rosette, or you can leave it plain and push the glue dot in so it is more in the center of your rosette.
Here were my larger ones that I created using tissue paper for some simple (and cheap!) birthday party decorations.
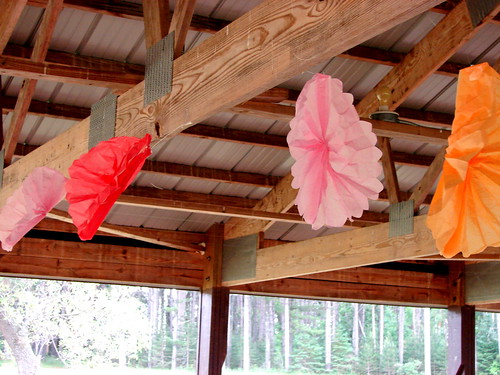
I started by cutting out different lengths of tissue paper (purchased the standard size of tissue paper that comes in the gift wrapping section of your area department store) and started accordion folding the entire sheet of tissue paper from the longest (in length) side until the entire sheet was folded. Now fold the entire folded strip in half and stick one side of your tissue paper to the other using Super Tape. Fluff out rosette and you are done!

great tutorial! they look fab.
I made some of these Sunday--how funny is that?! Great tutorial Jen!
Great post! I need to do some more of these...think I did one a while ago, but nothing recently. :)
ooooooooooo very cool. i need to make some of those. you know that's handy when you just don't have the right one!! diy!!!!
These look simple to make.
I remember making kleenex flowers for wedding cars. That is what your big ones reminded me of.
Great tutorial! You make it look so easy!
super cute and great tutorial!
Well, aren't those cute!
Sorry your little one is sick! Hope she is all better soon. What a great project, glad you shared.
hope zoey is better soon!
love the tutorial! they are so much fun to make :)
I love making these with my kids out of scrap strips, they are so much fun!!!
Post a Comment